Send a document for signature in minutes
A quick walkthrough of CheapSign — from signing in to getting a completed, legally-binding PDF. If you can attach a file to an email, you can do this.
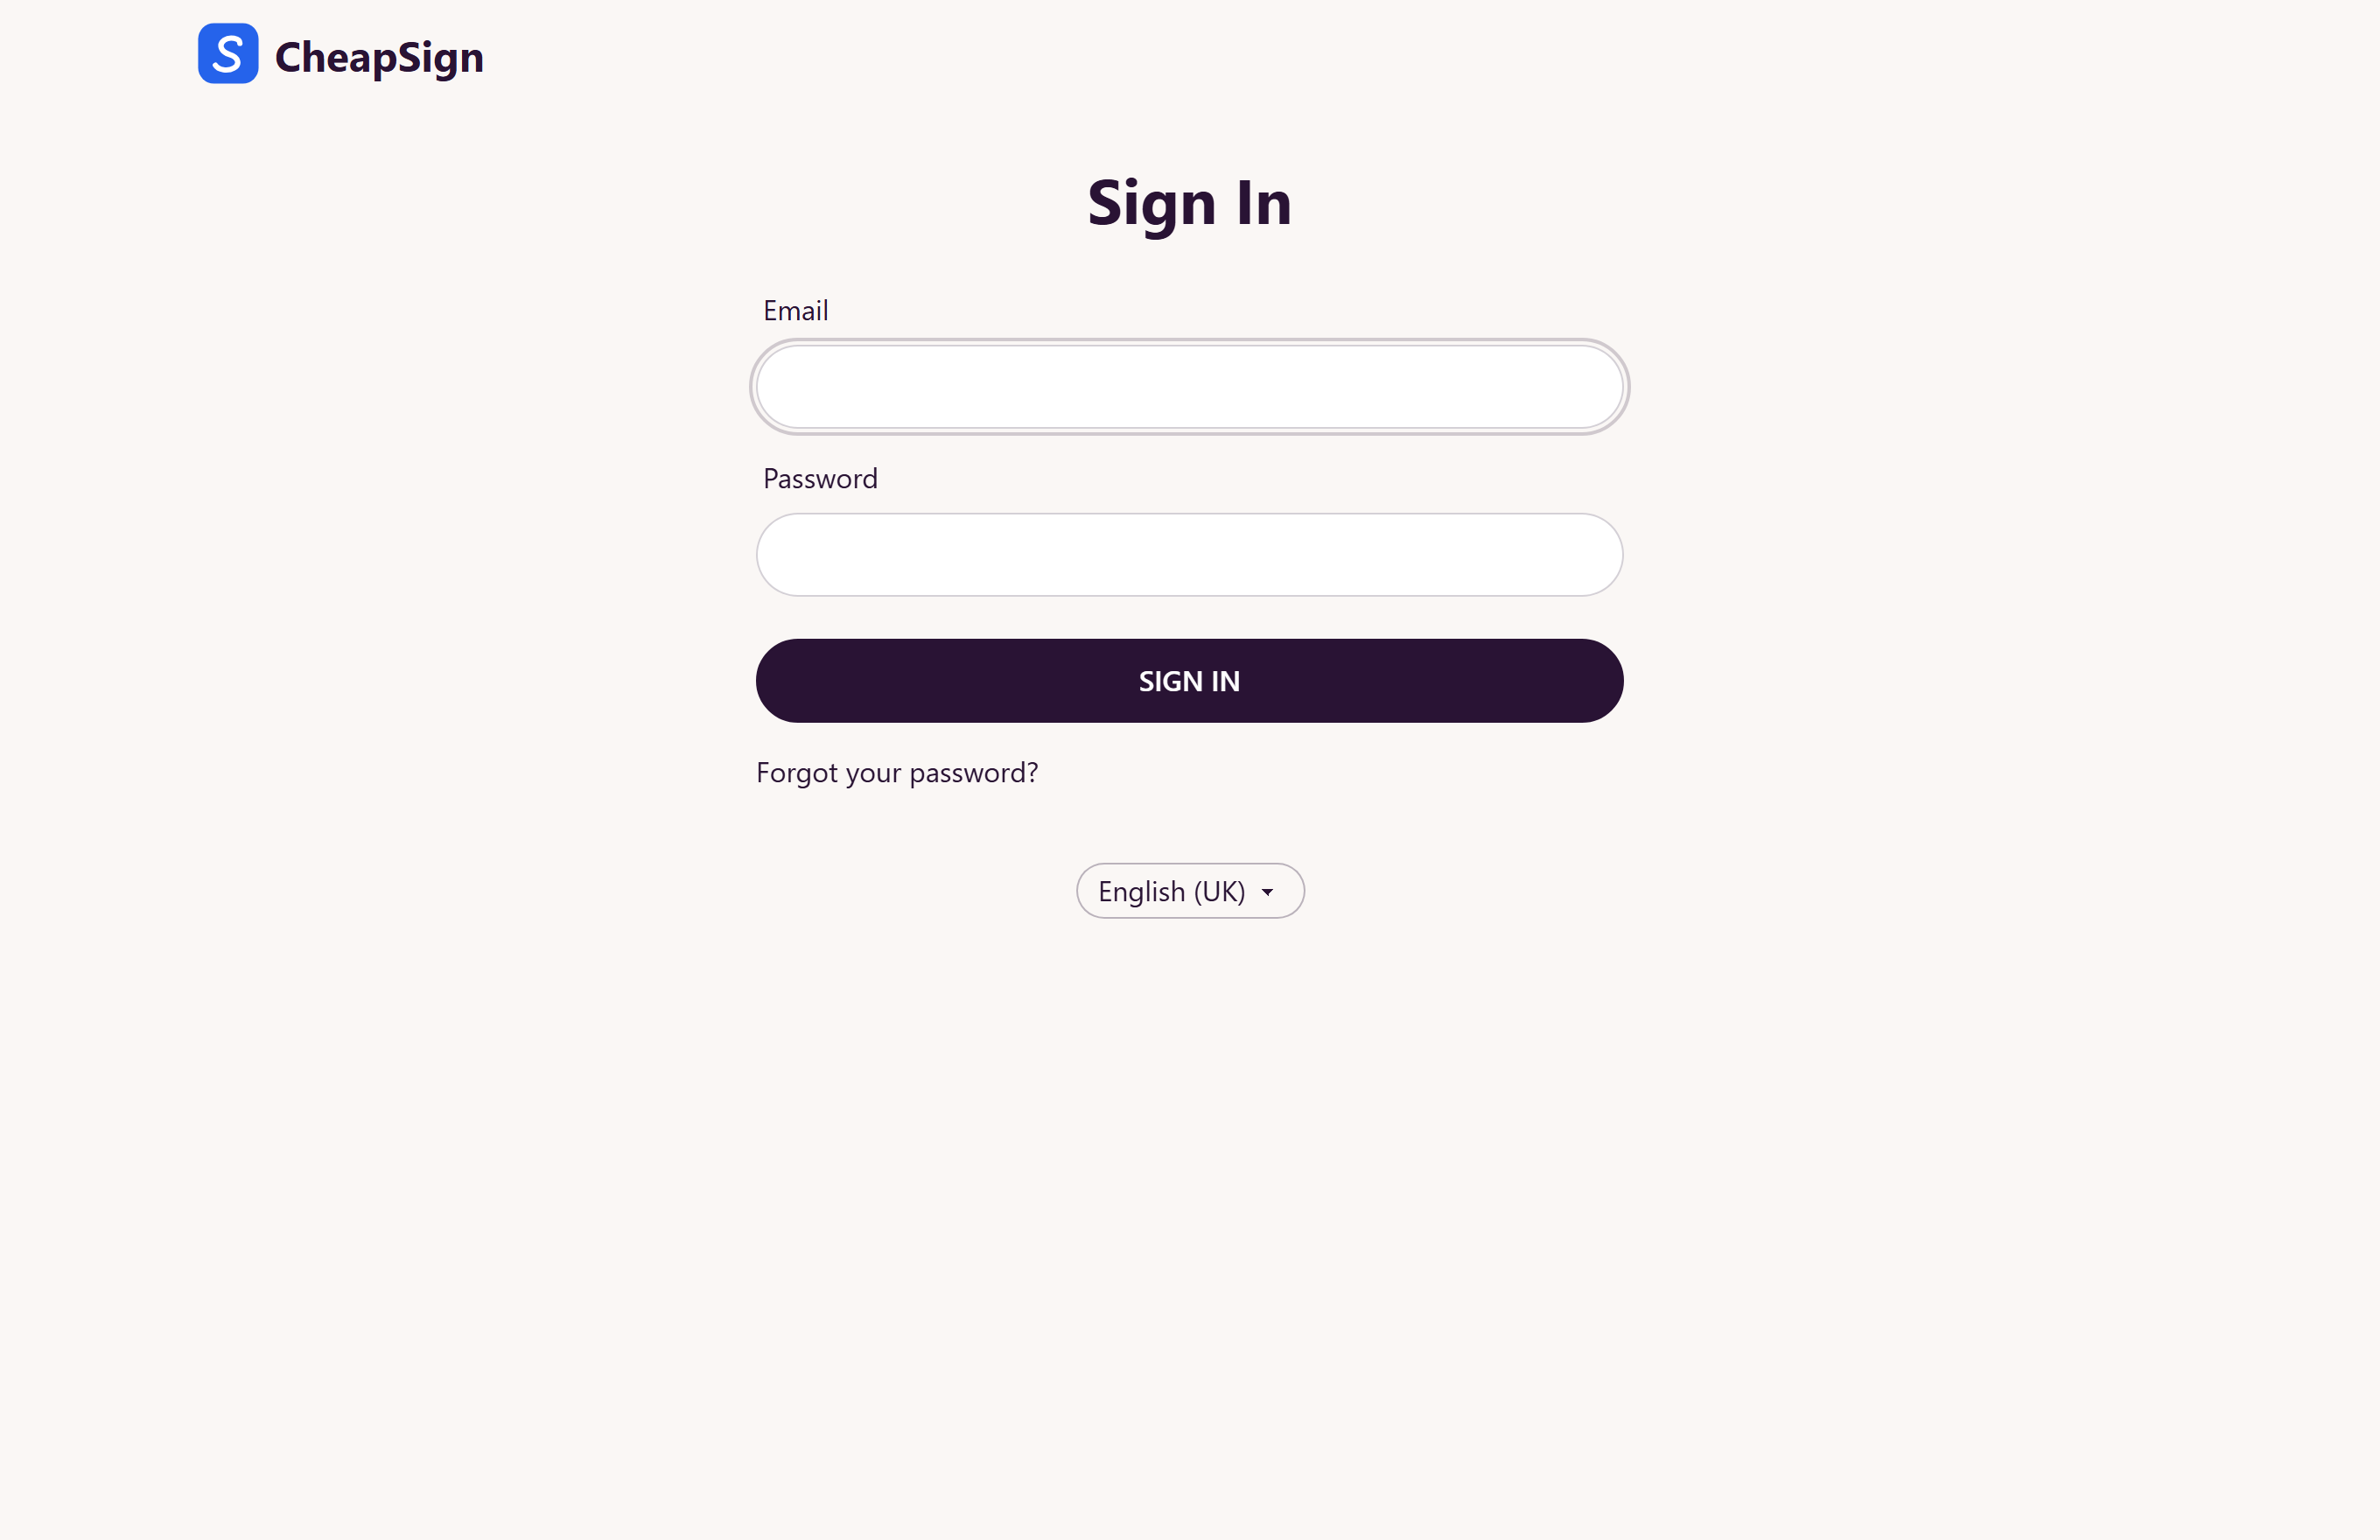
01 Sign in
Go to cheap-sign.com and sign in with your email and password. Your first 5 documents each month are free — after that, add a card to keep signing.
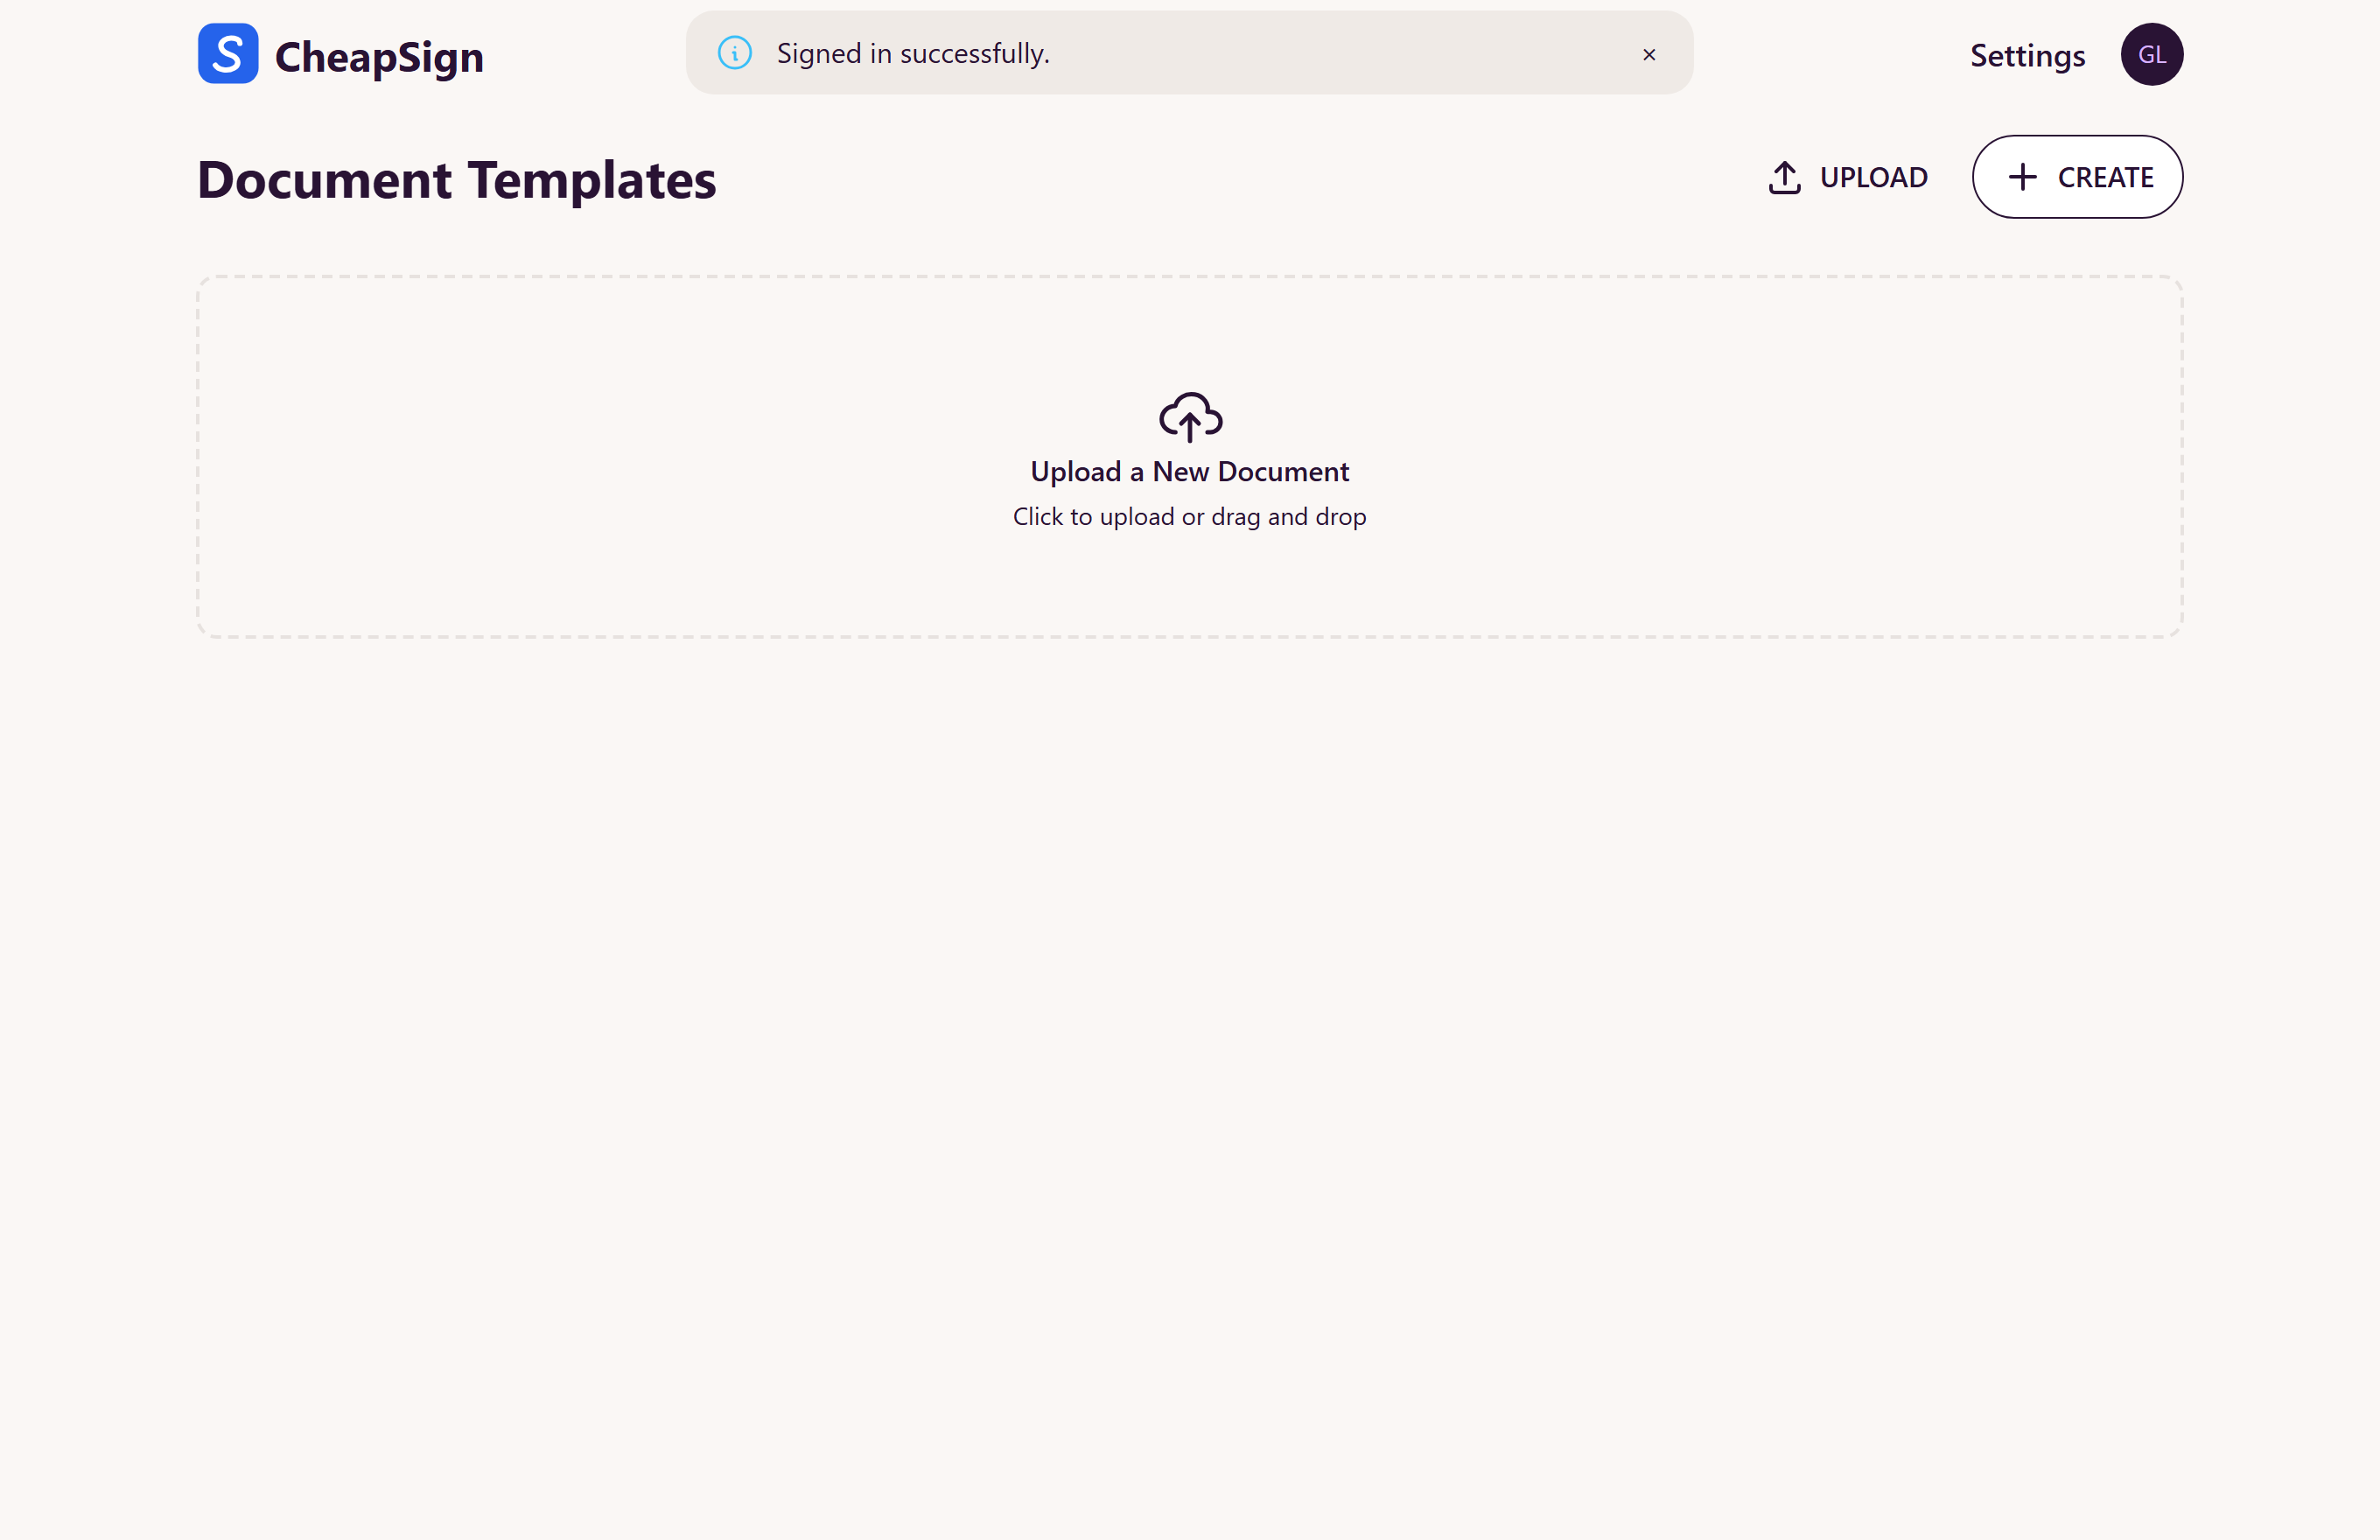
02 Upload or create a document
From your dashboard, select Upload to drop in a PDF, Word file, or image — or Create to start from scratch. This is your home base for everything you send.
03 Place fields & add signers
- Drag Signature, Date, Text, or Checkbox fields onto the document where they’re needed.
- Assign each field to the right person (Signer 1, Signer 2…).
- Add each signer’s name and email. Turn on signing order if it must be signed in sequence.
- Select Send — each signer gets a secure email link.
04 How people sign (and how you counter-sign)
Your signers don’t need an account. Each one gets their own secure email link, opens it, reviews the document in the browser, then types or draws their signature in the fields assigned to them and selects Complete — on phone, tablet, or computer.
Counter-signing as the company. To have your business sign too, you (or the responsible colleague) are simply added as one of the signers, with your own signature field. When it’s your turn you receive the same kind of secure link, open the document, add your signature, and select Complete. With signing order on, the client signs first and your company counter-signs last. Once everyone — client and company — has signed, the document is locked and each person receives the final signed PDF with its audit trail.
05 Track & download the signed PDF
Watch each recipient’s status — Sent, Opened, Completed — and send reminders. When everyone has signed, the document is locked and you can download the final signed PDF with a full audit trail (who signed, when, and from where). That PDF is your legal record.
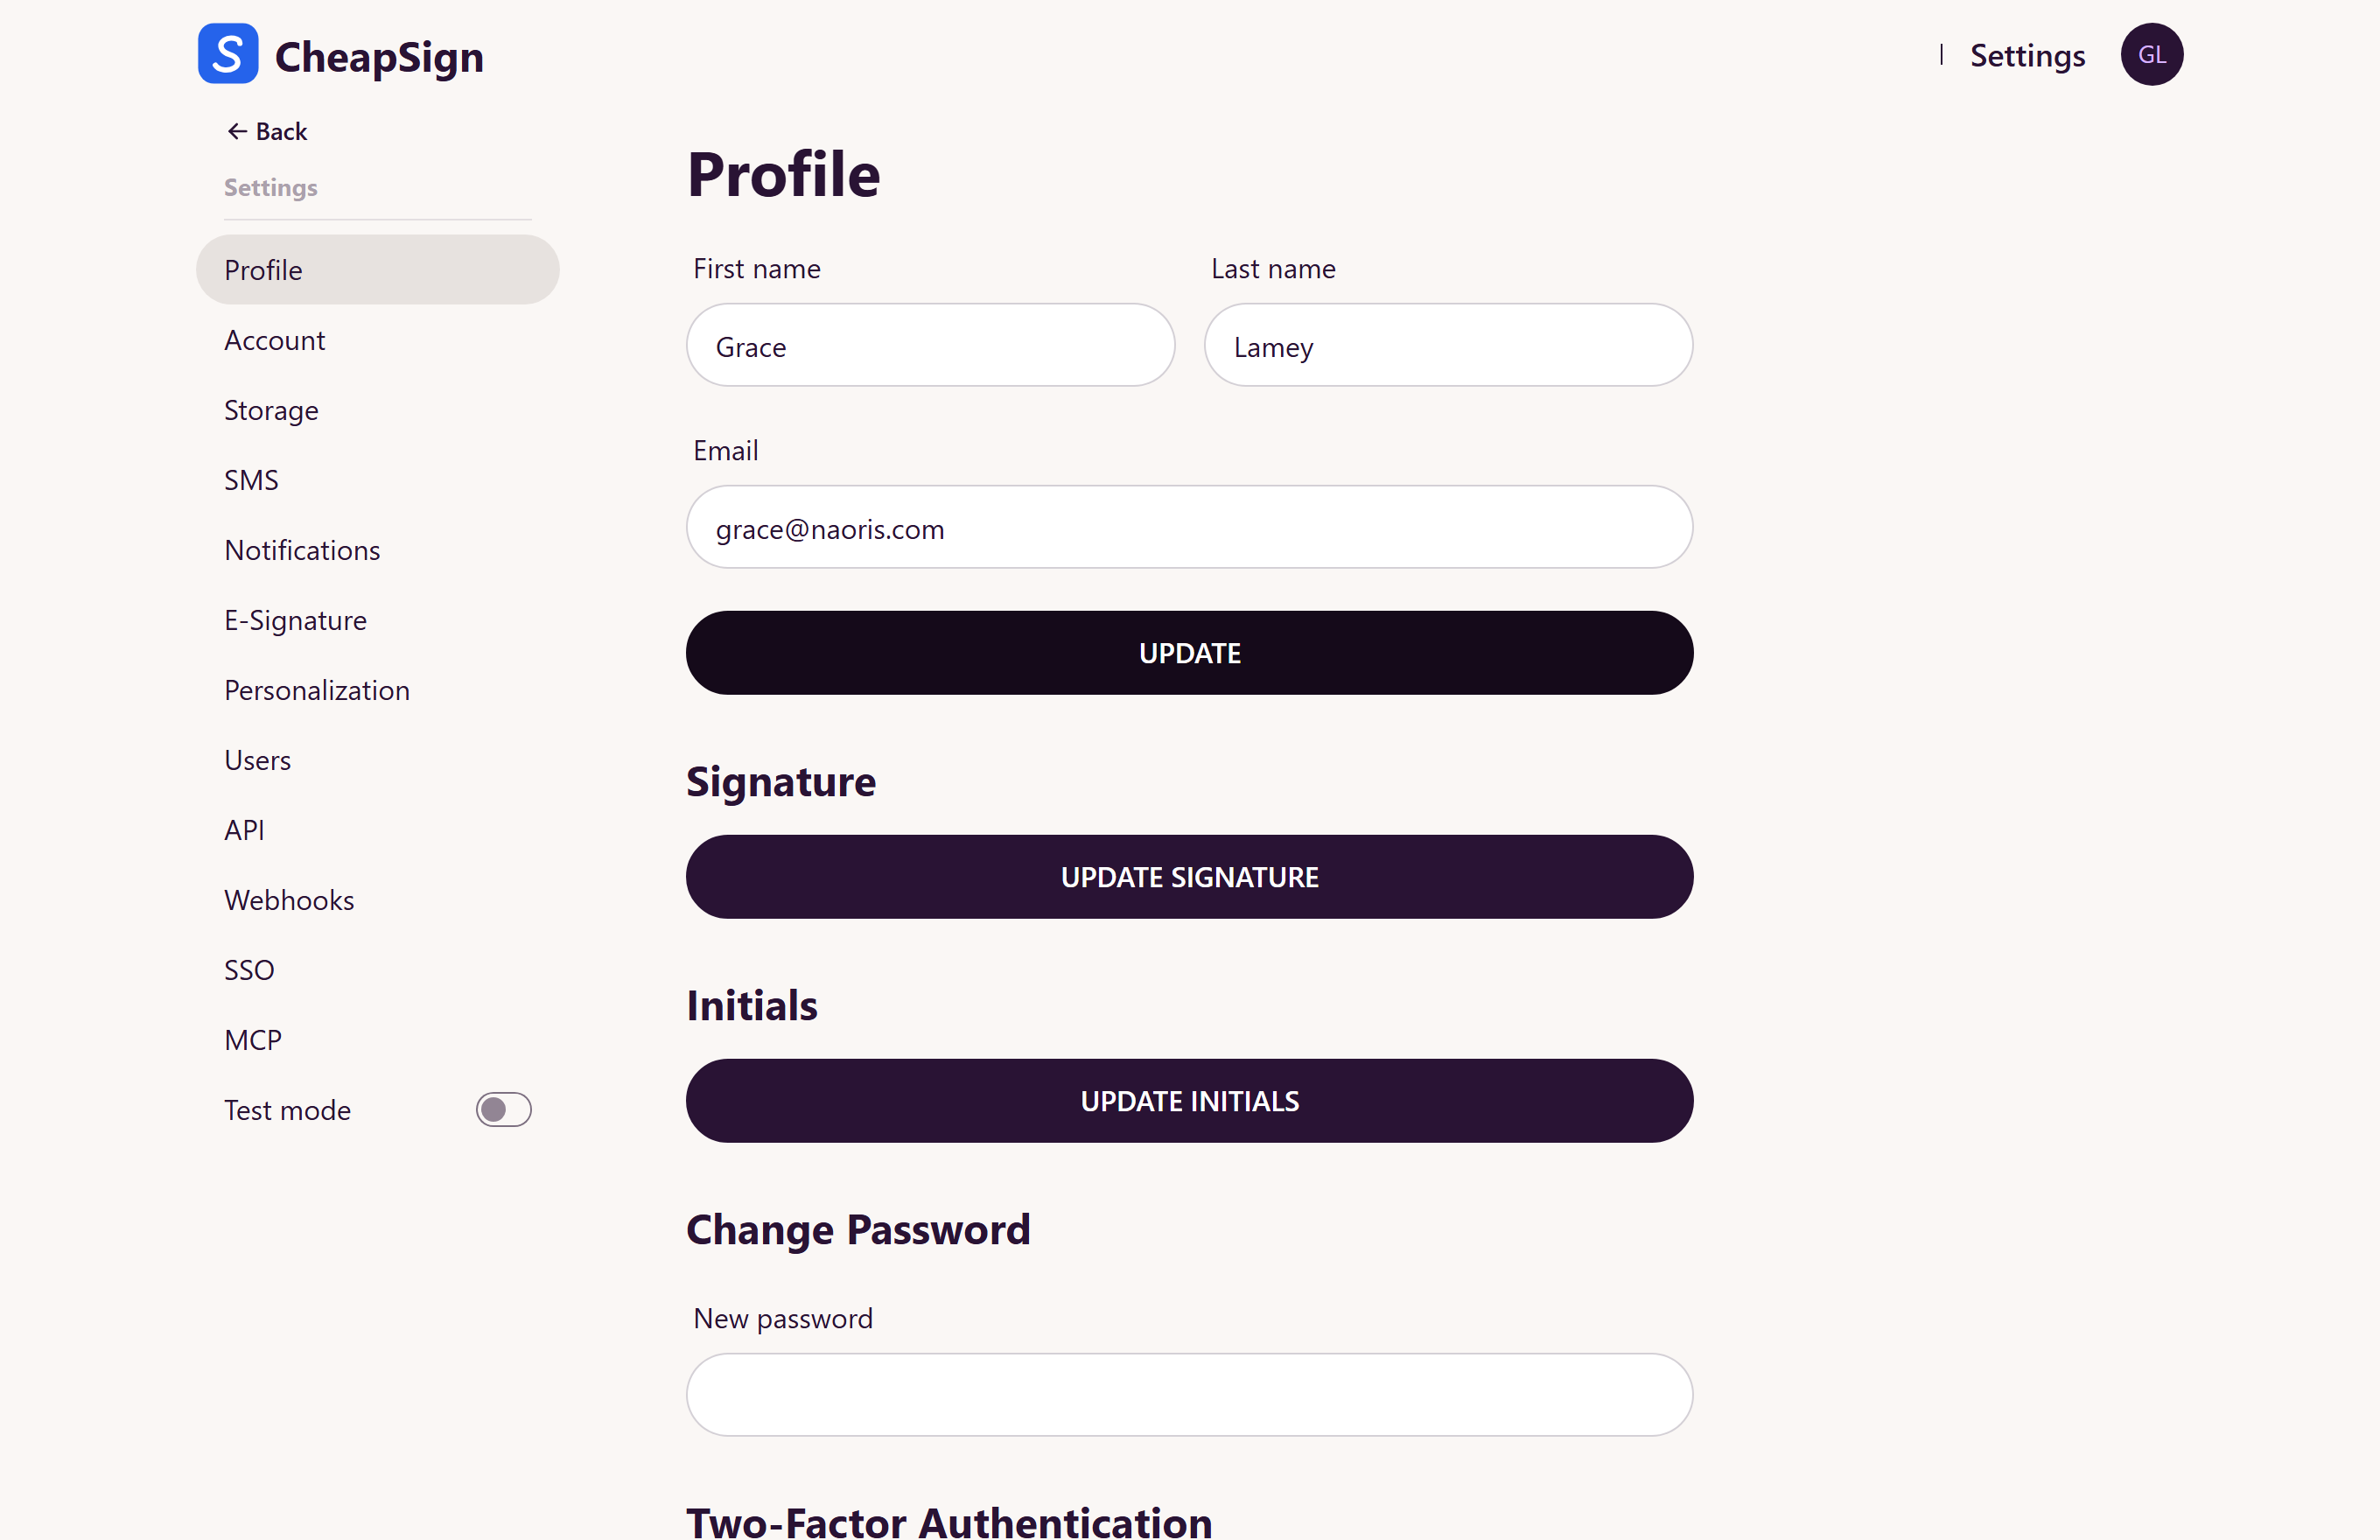
06 Your workspace & settings
In Settings you can invite teammates (Users), set your signature and initials, change your password, and enable two-factor authentication. Everyone in your workspace shares one subscription.
07 Plan & billing
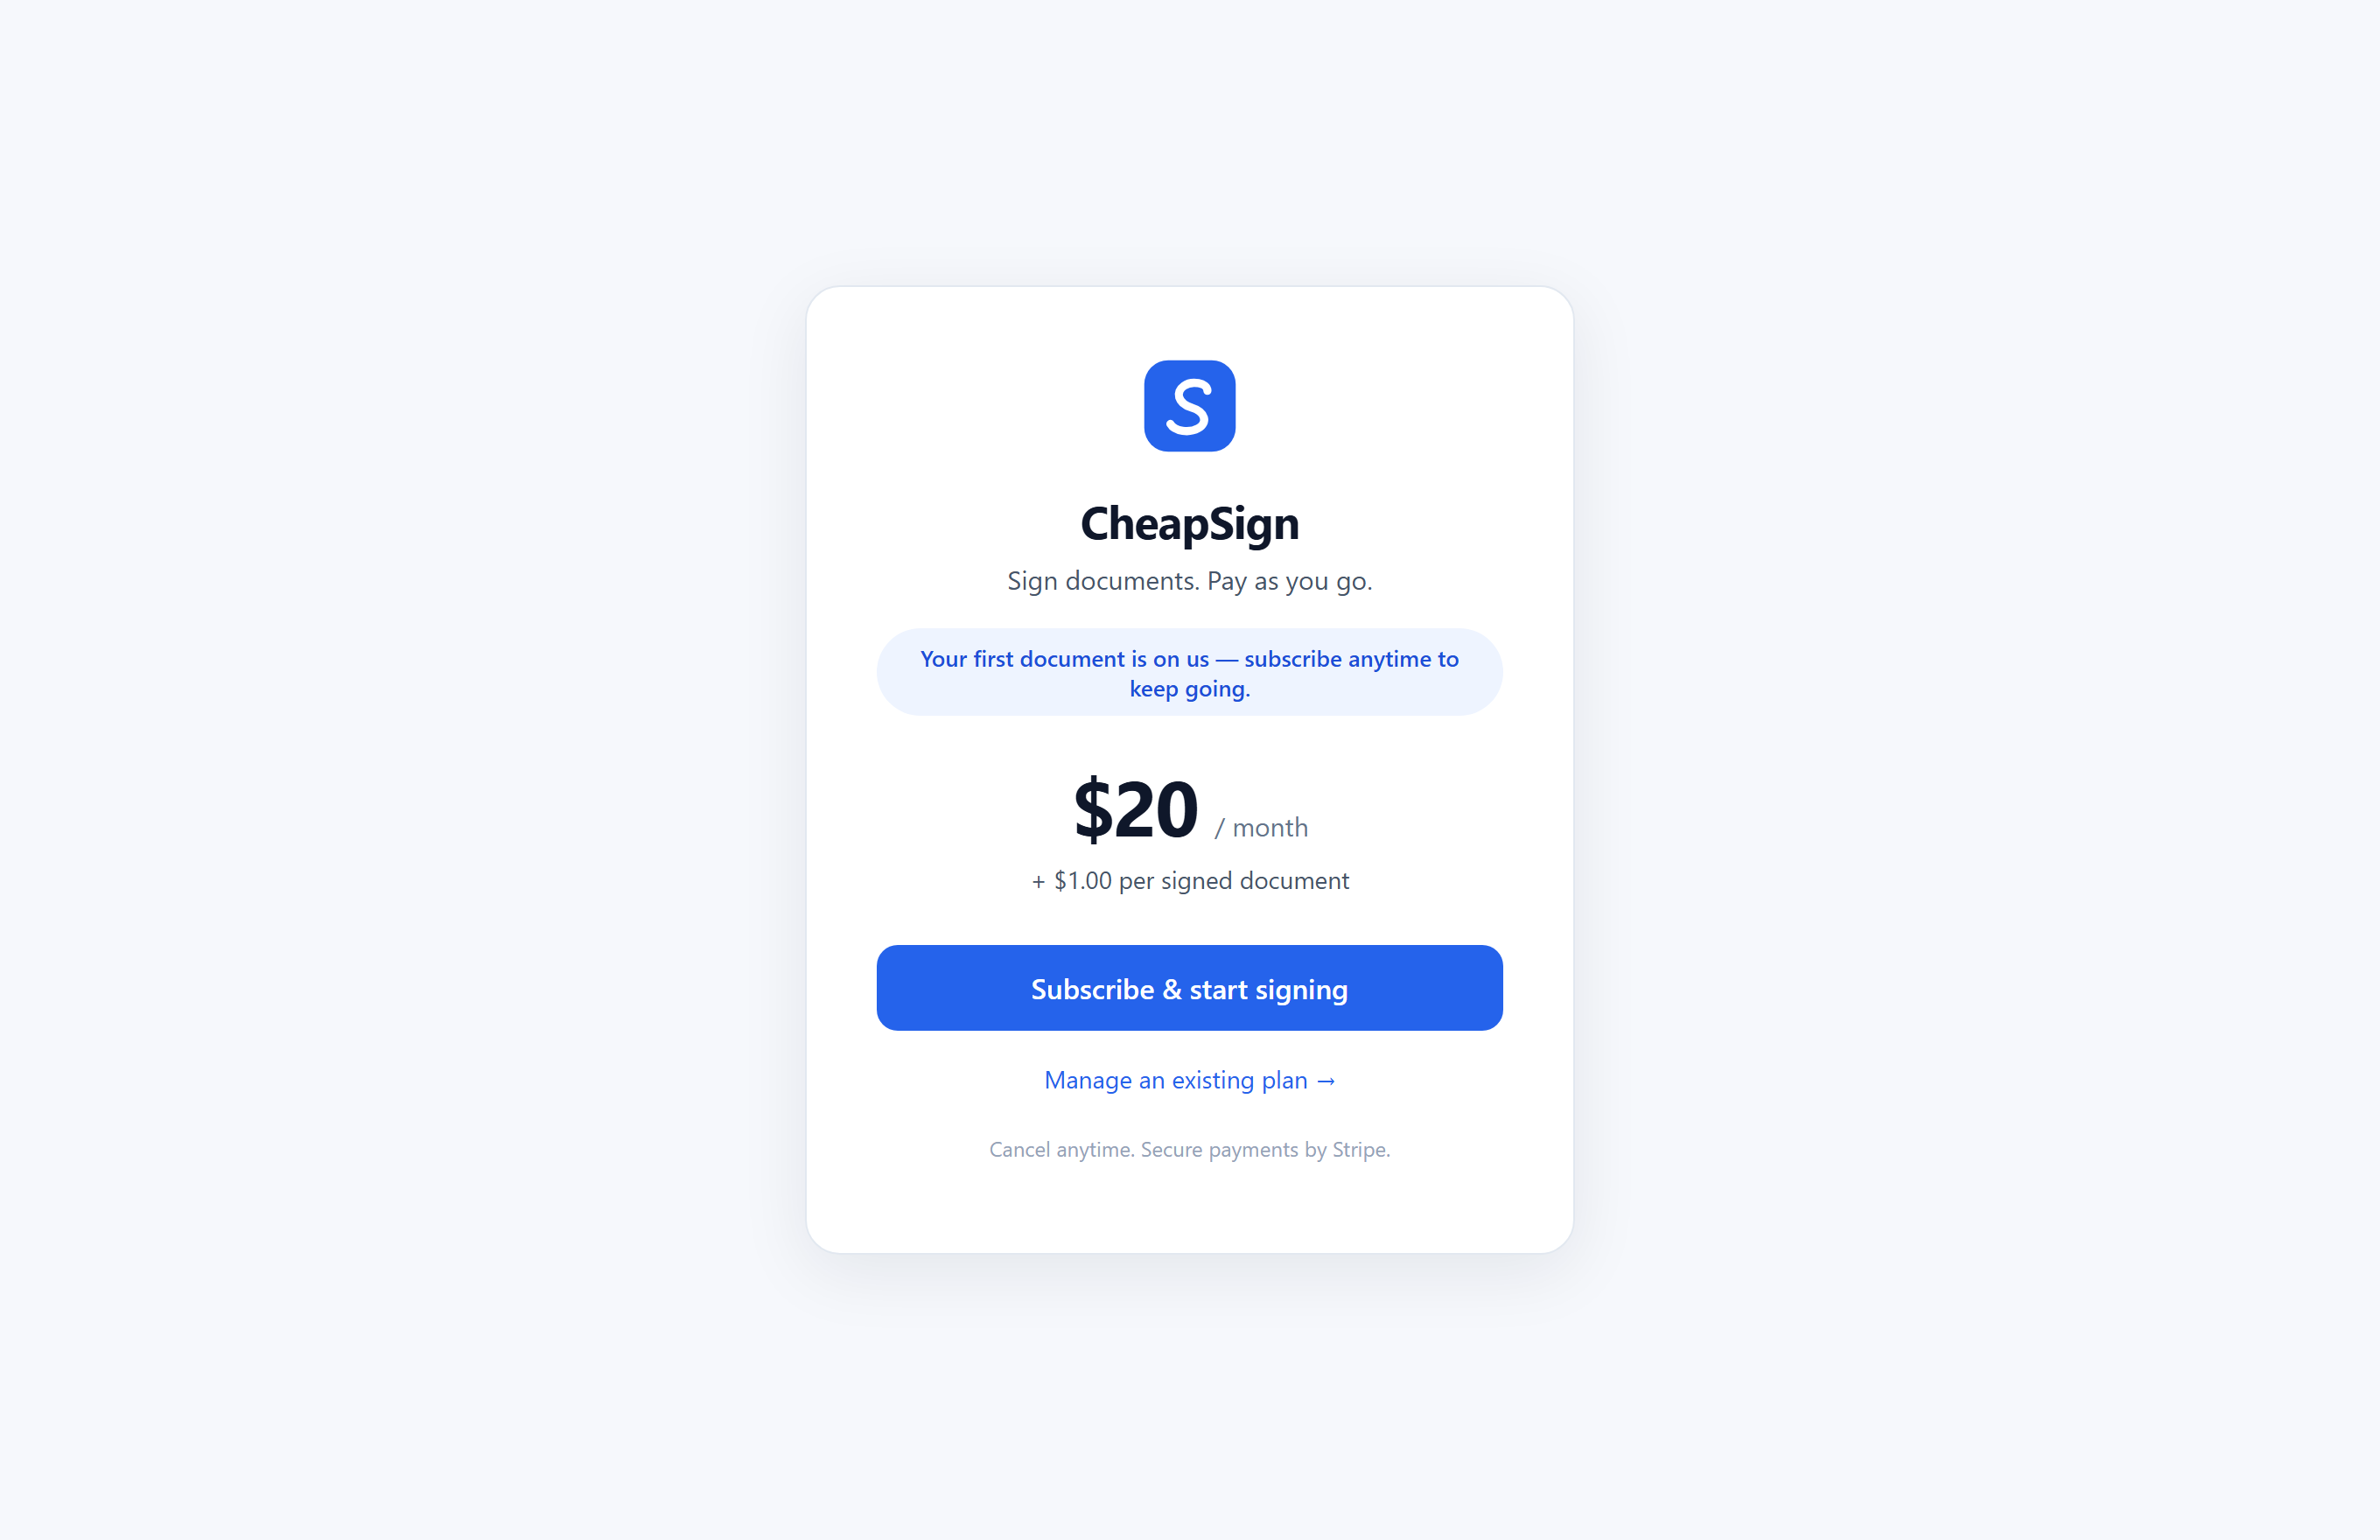
You get 5 free signed documents every month. Beyond that, add a card and you’re billed only for what you sign — CheapSign automatically applies whichever plan (Pay-as-you-go, Solo, Team, or Scale) is cheapest for your month’s usage, so you never overpay. Manage your card, download invoices, or cancel anytime at the billing portal.